If you follow me on Facebook, you will know that I recently got involved with Fashion Magazine’s Beauty Panel.
What is the Beauty Panel?
Comprised of Canadian Beauty Bloggers. Each week, FASHION Magazine poses a beauty challenge to the bloggers. Then every Thursday, the panel releases a post on our interpretation of the challenge along with tips and tricks. I’m truly thankful to Glitter Geek for getting me involved in this venture!
The Challenge
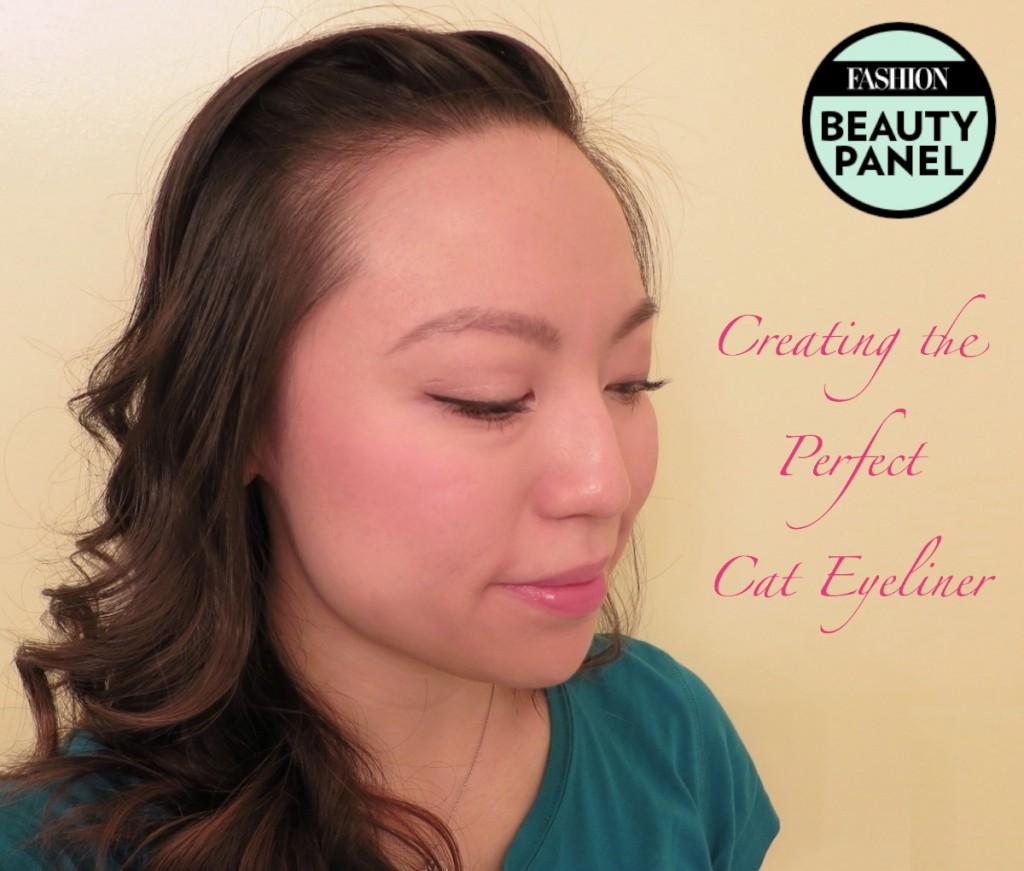
This week’s challenge was how to create the perfect cat liner aka “winged eyeliner”. I love doing winged liner on my brides to really finish off the look. It creates this wide eye/more awake look. Funny enough, it’s easier for me to do it on others than doing it on myself. If you are going to do it on yourself, hopefully my tutorial will provide some assistance!
What You’ll Need
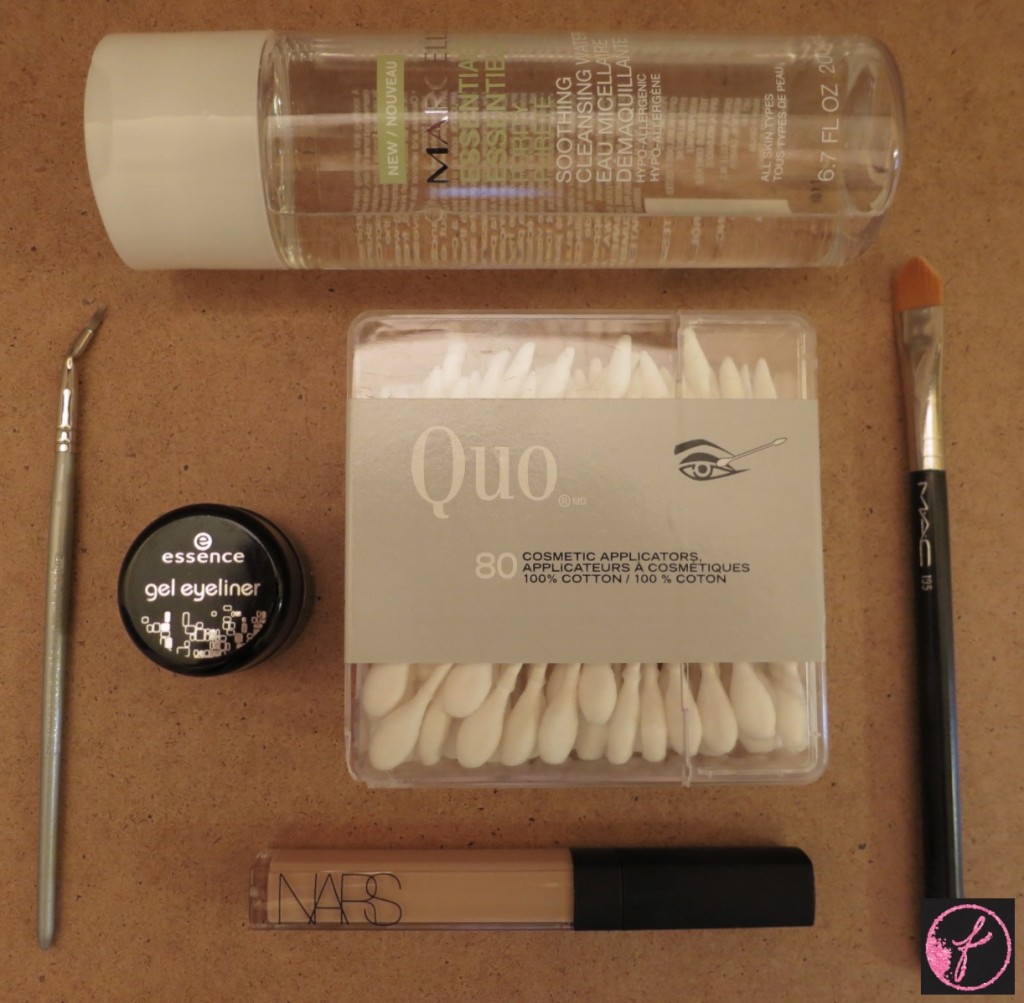
- SEPHORA Pro Bent Liner Brush #23
- ESSENCE Gel Eyeliner in “Midnight in Paris”
- MARCELLE Soothing Cleansing Water
- QUO Cosmetic Applicators
- NARS Radiant Creamy Concealer in “Ginger”
- MAC Concealer Brush #195
Instructions
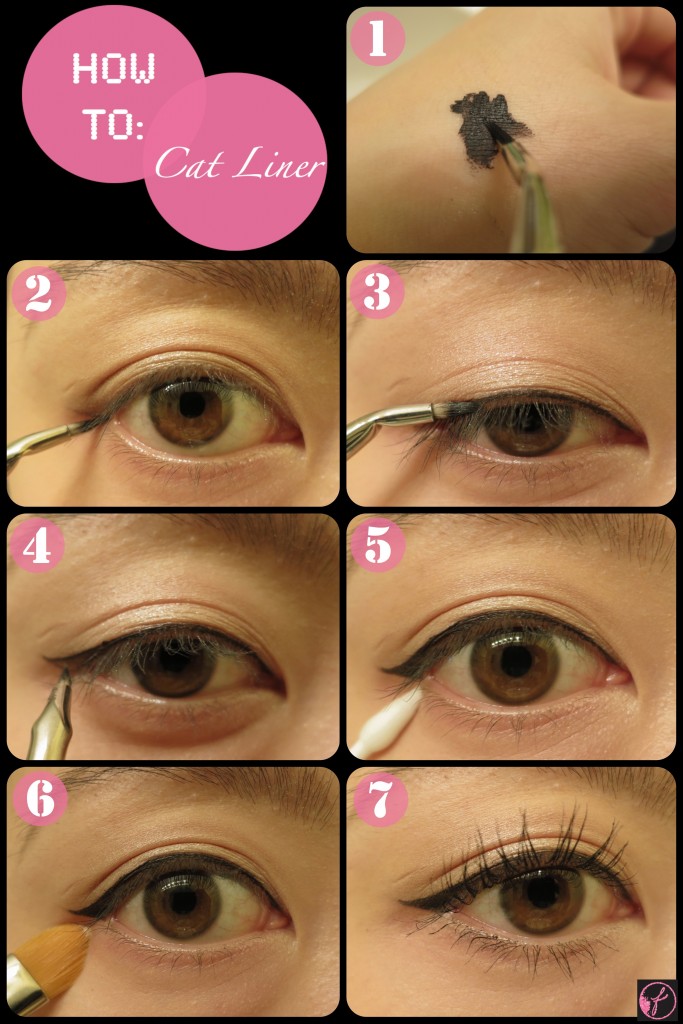
- Put some gel liner onto the bent liner brush. Remove excess gel liner on the back of your hand.
- Decide on how slanted and big you want the flick to be. Use the tip of the brush to map the flick out.
- Line the eye by using the side of the brush.
- Draw a diagonal line that connects the top of the flick to the centre of the eye. To prevent the gel liner from skipping, move the brush from the flick to the centre of the eye. Fill in any gaps with more gel liner.
- Dip a cosmetic applicator into the cleansing water and clean up any edges for a sharpen flick.
- Add concealer to sharpen the flick even more.
- Curl lashes and add mascara. VOILA…you’re done!
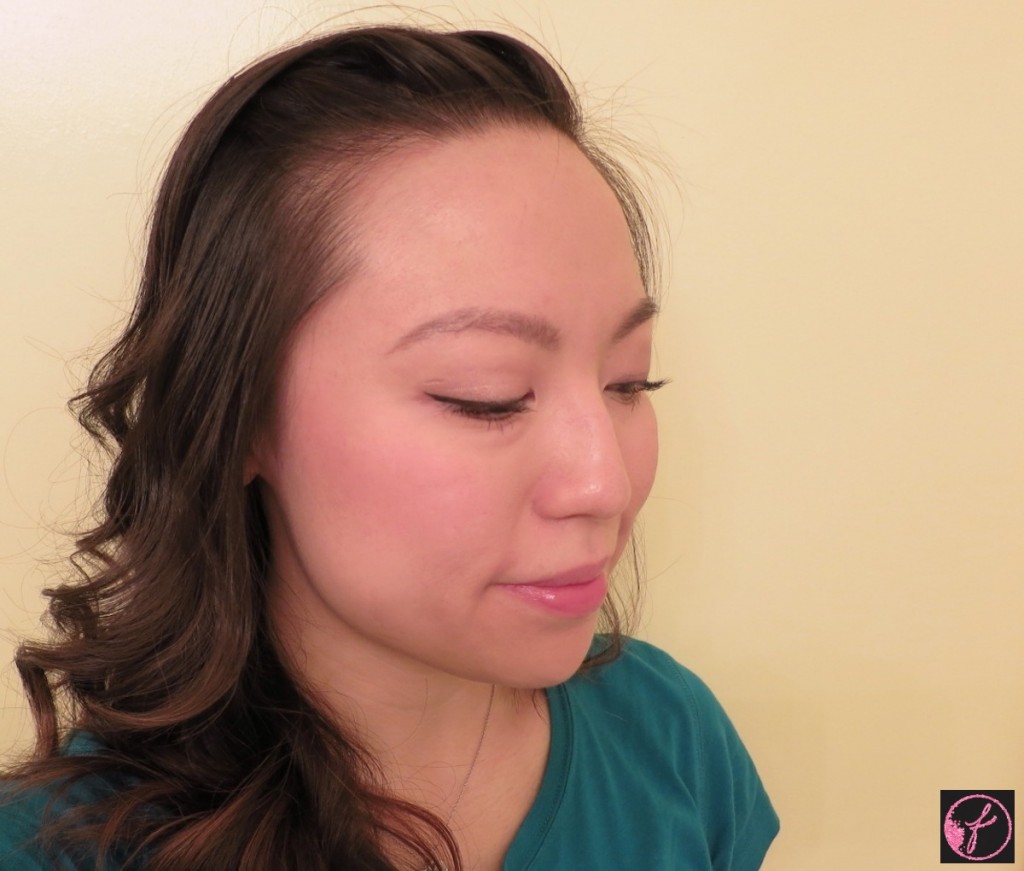
I’m still learning how to take photos of myself, so here’s a random one:
Good luck and let me know if this tutorial works for you!
Disclaimer: Thank you Essence Cosmetics, Faulhaber Communications, & VerveGirl for the Essence Gel Eyeliner. All other products mentioned were purchased by me.